Welcome to my photoblog!! Please feel free to browse around and leave some comments. You may also follow me. Thanks!


Friday, May 27, 2011

Wedding Bliss

Congratulations to the newlyweds, Allison and Jay Platten! Married on April 30, 2011. It was a beautiful sunny day...here are some highlights from the wedding!

Allison was calm and collected as she prepared for her big day, with her mother and bridal party there helping her get ready.


Then we headed outside for some shots of the beautiful bride and her bridal party


After that, it was off to the venue which was held at Hickory Ridge in Holly, NY. A beautiful, well kept golf course including a lake which made for a lovely backdrop. Here, I found a slightly nervous groom and his groom's men. The groom had good reason to be nervous seeing his poor bride's limo was broke down on the side of the road, not once, but twice!


Despite the bride and her girls literally going through two different limos and family members having to come pick them up, they made it just on time and the ceremony began.


After a special ceremony where family read special speeches they prepared for the couple and there was a moment of silence for loved ones no longer with us, we headed outside for some shots of family, the wedding party, and the newly married couple.


Then it was time for the festivities!


Here's wishing this couple many, many happy years together!

Friday, April 29, 2011

Miller-Platten Wedding Teaser

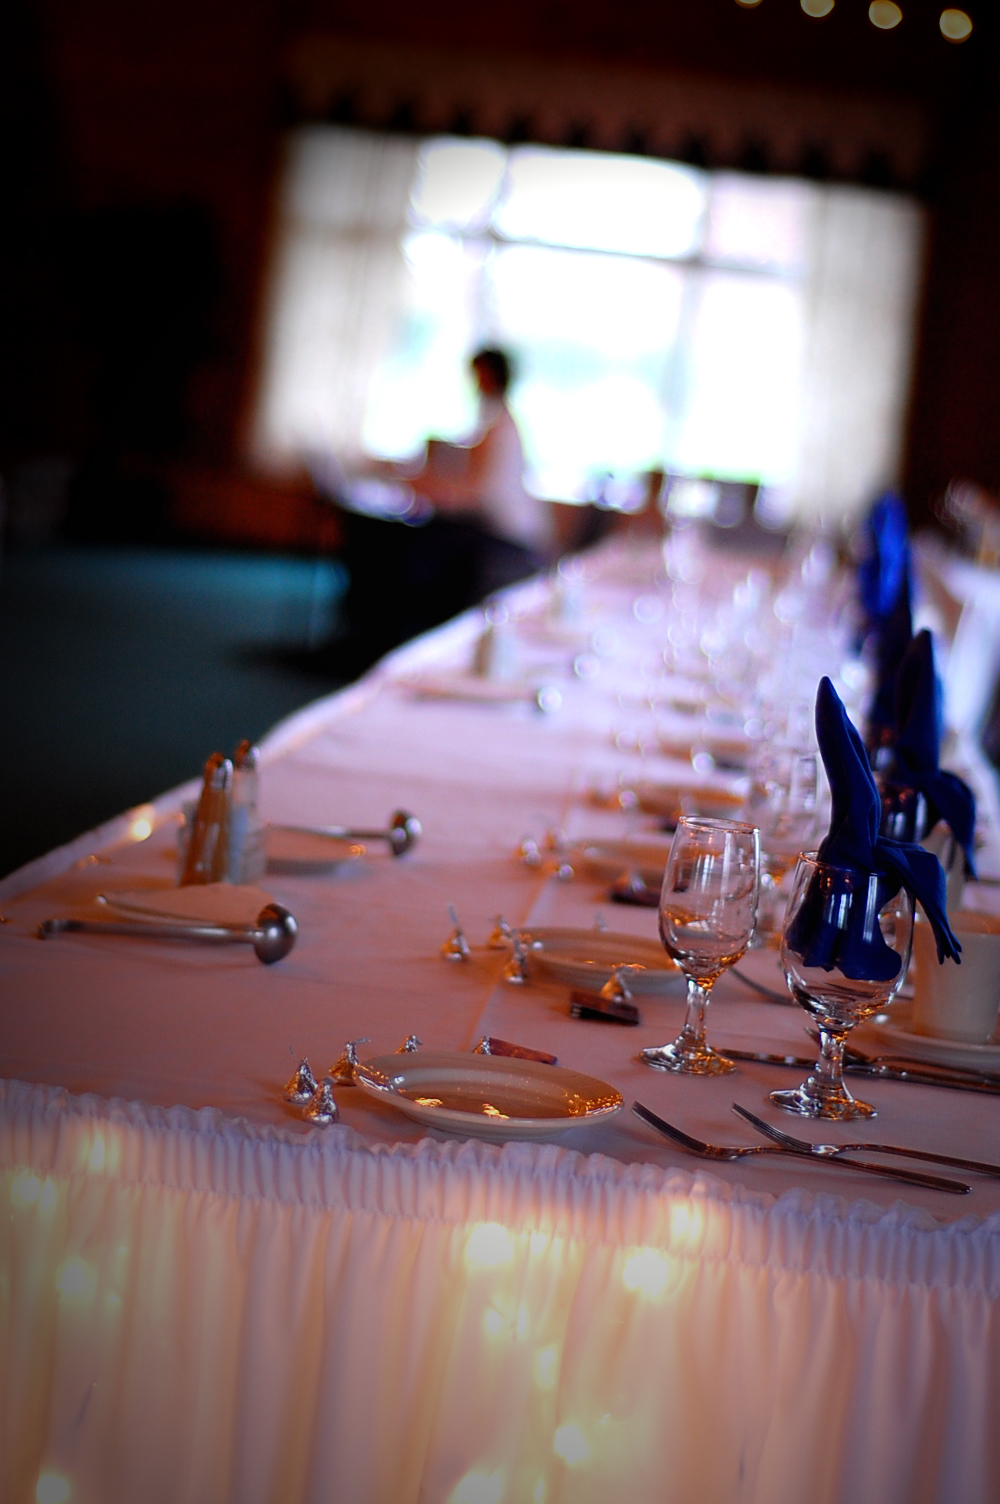
Its the night before the wedding and the bride and groom want to be sure everything goes off without a hitch. Tomorrow Allison Miller and Jay Platten will read their vows to one another and soon their special day will be a sweet memory. But tonight they are rehearsing their special day. Here are a few photos I was able to take as a teaser to the big event tomorrow.


Its all in the details!

Wishing them both all the joy that tomorrow will bring. I am so privileged to be capturing their wedding day for them to cherish for the rest of their lives!

When two people become one flesh by way of marriage,
it is not only their hearts that are united,
but their minds and souls as well.
~Julie Donner Andersen

Wednesday, March 9, 2011

SPOTLIGHT-Post Processing Before and Afters

Here is something I've never really done before, but I want to show you before and afters of some of my photography to show you the power of post processing (I am currently working with Photoshop CS3). I've come to realize that this can become a controversial topic quite quickly! Of course, if post processing is overdone, it may really takes away from the photo as a whole, but if you do it just right, I feel it can really enhance the natural beauty of whatever your subject is.
Take this before and after...I'm almost embarrassed to be showing you the before. I feel I got the exposure of the running water right, but it blew out the rocks in the foreground. With a little Levels adjustment, cropping, and stamp tool, those rocks are now gone and not distracting your attention away from the beauty of the scene. I also use Selective Color a lot! Bringing out the rich greens really adds to this photo. (of course, this is all just my opinion).

In this one, some quick Cropping, Level adjustments, and Selective Color adjustments really bring this bee alive. I usually take the dominant colors in the photo and really try to bring them out. In this photo I used the Selective Color to enhance the greens, purples, and yellows. I also used a plain Sharpening Filter on this.

 
On this dainty little Forget Me Not, I cropped the photo, used Level adjustments, and Selective Color on the yellow and blue hues. To really spotlight the flower itself and pull it out of the background, I used a Rendering->Lighting Effect->2 O'Clock Spotlight Filter.

For this guy I felt the original crop straight from the camera was nice and I really liked the composition of the whole photo, but something was missing. That's right, for me, it was drama! Some Contrast and Level adjustments later, he's really starting to pop. With a Selective Color adjustment to make the greens richer, and a Sharpening Filter, he's the guy you see here in the after photo.
And finally...pretty much the same here, Sharpening, Contrast, a small Crop, and enhancing the natural colors slightly really make this little dragonfly draw your eye.

So, just for fun, I thought I would give you some insight on how I post edit my photos. I have a certain flare for the dramatic, in case you didn't notice. I try to keep my edits as simple as I can to not take away from the original photo.

Some might say, "well if you do all of this post process work, you're not a real photographer" (I've heard it before), but I consider myself an artist, and one of the definitions of an artist is this: n- a person who displays in his work qualities required in art, such as sensibility and imagination. Imagination...something that comes from my imagination is a beautiful close up of a dragonfly showing off of his intricate details with bold colors, making a dramatic statement in a world that would otherwise not notice him. 

As always, I urge to slow down and take in your surroundings...there is a whole world out there, big and small. I hope I bring that to you.

Any questions...feel free to comment! 

Wednesday, March 2, 2011

SPOTLIGHT-Water Drop Photography II

As promised, here is another Spotlight Feature showcasing my water drop photography...this time going way more in depth about how I do it.

Would you like to try high speed photography like this?
 Equipment I'm working with

Nikon D40
Kit Lens 18-55 mm
+4 Neewer Close Up Filter
One (1) Speedlight SB600
Tripod
Remote Shutter Release
One (1) Small Glass Fish Tank
Brightly Colored Paper
One (1) Bubble Headed Eye Dropper 
Settings on my camera:
Speedlight: 1/64 (for shortest flash duration) at 14 mm with flash bent at 90 degrees
Manual Focus and Settings on D40 gives you much more control over your photo
ISO Speed: 200 (lowest on the D40, but lower is ideal)
Shutter Speed: 10/5000 Second
Aperture: F9-F11
I really like using the glass fish tank because I can put different colored paper at just about any angle (including under the tank), I can also shoot from any angle. I can shoot from above the water, level with the water, or from under the water. As stated in the last SPOTLIGHT on my water drop photography, I have also shot in a white tub, or a black tub. I also like using an eye dropper with a bubble at the top cause I have found that gives me a little more control over the water drops and how fast or how many come out at a time. I have also used a sandwich bag filled with water and a hole pricked in one of the corners. There are Drip Kits out there to take it to the next level (just Google it). Water drop photography is really all about experimentation and learning as you go. And most of all have fun with it.
I am really working with the bare DIY material for water drop photography. You can really take it up a notch by adding more Speedlights and other things. And as always...read your tutorials and you will learn something new everyday!
 Post Processing
I use Photoshop CS3
Minor Cropping
Some sharpening and noise reduction filters
Contrast and Brighten
Saturation Layer
Sometimes I play with Selective Colors too
If you are not familiar with Photoshop, but would like to learn how to use it, check here: http://graphicssoft.about.com/od/photoshoptutorialsbasic/Photoshop_Basics_Tutorials_for_Photoshop_Beginners.htm
That's about it!
Any questions? Feel free to comment with questions or tips of your own!


Wednesday, February 16, 2011

SPOTLIGHT- Water drop photography

Water drop photography is a sudden passion of mine, especially over the winter (when I've been too scared to risk my equipment for some good winter shots, I've really got to get over that!). I've seen photos here and there on the web and found it fascinating...soon I was reading as many tutorials as I could in my spare time.


I started with an aluminum pan and an eye dropper...and today, I haven't upgraded to much more than that. I feel the most important tool I have is my speed flash. Right now I only use one, but more would be ideal.


If you were to Google "images for water drop photography", you would see thousands and thousands of them...the hard part is to make yours different from the other thousands you see on the web. To do this, you can use different backgrounds, different lighting, even include a colored gel on your flash, add food dye to the water, or use the colored glass stones or marbles in the bottom of the tank. Experiment with different color combinations. I've gone as far as surrounding my tank with CDs for the rainbow effects you see in some of my photos, or putting glitter in the water, or adding bubble soap. This will add to the viscosity of the water, actually slowing the water down (hint: the colder the water, the higher the viscosity). Another trick I have found that helps a lot is shooting in dim room so that the flash is freezing the water drop, not outside light. Sometimes I shoot from outside a glass tank so I can literally shoot from any angle, above the water, under the water, or exactly level so you can see the disruption in the water from above and below. Other times I shoot in an open tub (either black, white, or silver). You can pretty much use anything as a tank...even a wine glass! You can also shoot from any distance. Would you like to see more of the water? Or like me, I like to show the close up water drop so you can see the detail within the water.

Manipulating water is so much fun. You never really know what you're going to get until you see a beautiful liquid sculpture captured in time. This is a fun project for any photography enthusiast!!


If you are interested in this...here are a couple of tutorials I have found incredibly helpful!

http://strobist.blogspot.com/2009/05/how-to-photograph-water-drops-with-one.html
http://www.digital-photography-school.com/water-drops-behind-the-shot
http://arwenarts.deviantart.com/gallery/10746987#/d34aweg
http://www.cognisys-inc.com/HowTo/water_drops.php (for if you're super serious and have money burning a hole in your pocket, but it includes some really cool water shots!)
OR just Google "water drop photography tutorials" and there will be a wealth of knowledge at your fingertips!

Have fun with your new found hobby...it's really a lot of fun and addicting cause the possibilities are endless!! With the new age of digital cameras, you can take hundreds of photos and pick your best...and trust me, you will need to do this. Water drop photography takes perseverance and patients...but I promise you, it will pay off in the end!!

Wednesday, February 9, 2011

SPOTLIGHT Portraiture

I would just like to spotlight some of the recent portrait photography I have done. I specialize in natural light portraiture, but do have a studio available.

The first is of my daughter, Zoey who's 3rd birthday is coming up!


The next spotlight is of a family who is a lot of fun to photograph...we had a great time! I have known Kati Finn my entire life since she is my cousin, hard to believe she is married with two children now!


And the last spotlight is an updated edit on my very first portrait shoot! Shanda was such a good sport and was really good in front of the camera.


For more of these and other photo shoots, please visit http://www.rosesreminiscencephotography.com

Tuesday, January 18, 2011

Winter Blues

Well...it's winter and I can't get out much to photograph anything. I could, but I'm not one to risk my equipment! I have managed to get some nice winter shots though.


I can't wait for spring to come! I can't wait cause not only have I improved and learned so much since last year, but I have some fun new options with my lenses! I got a reverse adapter which ables me to get almost microscopic with my photography. So be on the lookout for some fun new macro and close up stuff this spring. For now, let me share some of my favorites from last year.